We have had four pumpkins sitting in our hallway for about a week now. The internet is brimming with articles such as “A Million things to do with a Pumpkin” and I’ve been paralysed by choice. Two of them have yet to have their destiny decided, but given how much L and N enjoyed dissecting the fruit and veg when we made our Harvest Festival Meal, I decided to go with a general exploration of the pumpkin based on this link sent to me by a friend and fellow-blogger.
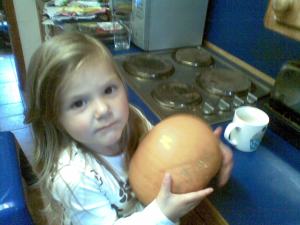
Having picked up all the pumpkins to see which was heaviest, we selected the heaviest pumpkin to cut open first. L found this easy, N had difficulty, so we might play some more games around comparing weights.
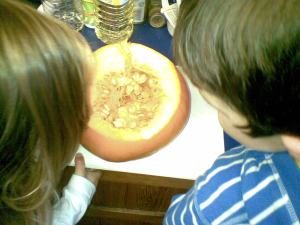
First we cut the “lid” off the pumpkin, to find out what was inside. Both L and N thought there might be other vegetables inside. I don’t think they realised the pumpkin was actually the vegetable (although we have since found out it is a fruit!).
We discovered millions of seeds inside – both children recognised them as seeds and knew they would “grow baby pumpkins”. L put his hand inside, N didn’t want to. L discovered it was “squishy”, “wet” and “juicy”. N just thought it was “yucky”. We scooped out the seeds and stringy bits, and I gave them to the children in a bowl, to separate out the seeds and have a good look. N was happy to explore it that way although she did keep washing her hands! L had no such qualms…
Once they had finished, I added some water to let them wash the seeds, and have a bit of sensory play 🙂
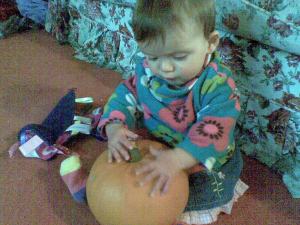
Meanwhile, F was busy conducting her own exploration – of one of the intact pumpkins! She really did enjoy this curious new object.
Back to the kitchen – and we tried to colour the seeds in autumn colours. L chose brown, N chose red. The pumpkin seeds were not very good at absorbing colour, so we left them to stand in food colouring for a while. The original post used vinegar with the food colouring, I used alcohol gel as we do when we dye pasta and rice, so maybe that made a difference, but even after several hours in the mixture ours were only faintly tinted. Not that it mattered. We put them to one side to dry and save for our sensory box.
Now, being cheap frugal, I tried to get the most out of these seasonal gourds. So we returned to the hollowed out pumpkins and tried to strip the flesh away whilst keeping the shells intact. This turned out to be really hard work and the children got a bit bored of waiting (lesson learned: next year, do this while they’re exploring seeds). We did manage to extract most of the flesh though, and the two medium-sized pumpkins gave us more than I thought they might.
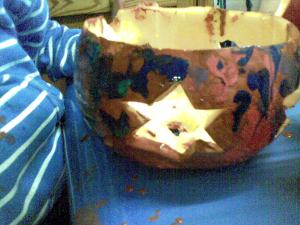
My plan was to use cookie cutters to cut out heart and star shapes for our Autumn lanterns (being a non-halloween family I avoided faces). I had seen Martha Stewart do this and thought it looked fantastic. If it works for you, let me know! I don’t know what these people were doing, but my cookie cutters just would not cut through the darned pumpkin skin, even with the help of a rubber mallet. By now I was sweating and muttering bad words, so we abandoned the cookie cutters and I made a very rushed job of carving out some shapes (so rushed that I’m hesitant to post the pictures, but perfectionism aside, the children didn’t mind!).
I handed the battered shells over to L and N, to paint any way they liked. And they did like. Very much indeed 🙂
To decorate the lids we used some watery white paint and just let it drip, watching the patterns it made. I loved this part as much as the children and it tempted me to use our remaining two pumpkins to do this Pumpkin Drip-Art painting from The Imagination Tree – beautiful!
For now, here are our Autumn lanterns:
L and N were really excited by this (poor deprived things had never seen a pumpkin lantern before!). And with the hard-won flesh, we made spicy pumpkin soup (a bit of cumin counteracted the sweetness nicely).


