Category Archives: Special Occasions

Easter Crafts and a Rhyming Egg Hunt

…Better late than never!!

Easter happened during our break from blogging – but rather than leave it out, I’ve decided to share the things we did so that we have a record for ourselves, and ready to share ideas next year!

Easter wouldn’t be Easter without an egg hunt – I also think that less chocolate, more fun  is a better balance.  Not that I’m opposed to chocolate but at Christmas and Easter the levels can get ridiculous if unchecked!  So our poor deprived children shared a bag of mini eggs which they found hidden around the house, by following clues.

L had been writing poetry that week, using a rhyming words bank, and so L’s clues involved finding the rhyming word.  N’s clues were simpler, and involved a very basic riddle.

Just for fun, here are our treasure hunt clues:

Once upon a time, there was an Easter bunny

Who thought hiding his eggs was funny!

On Easter morning, while we were out,

He left L** and N****’s eggs hidden all about!


And then he wrote a little rhyme

So they could find their eggs in time –

“I’ve hidden your eggs around in twos

To find them you must read the clues,

First L**’s turn, and N****’s then,

Then back to the beginning – L**’s again!

So off we go, let’s have some fun,

Your treasure hunt has just begun!”


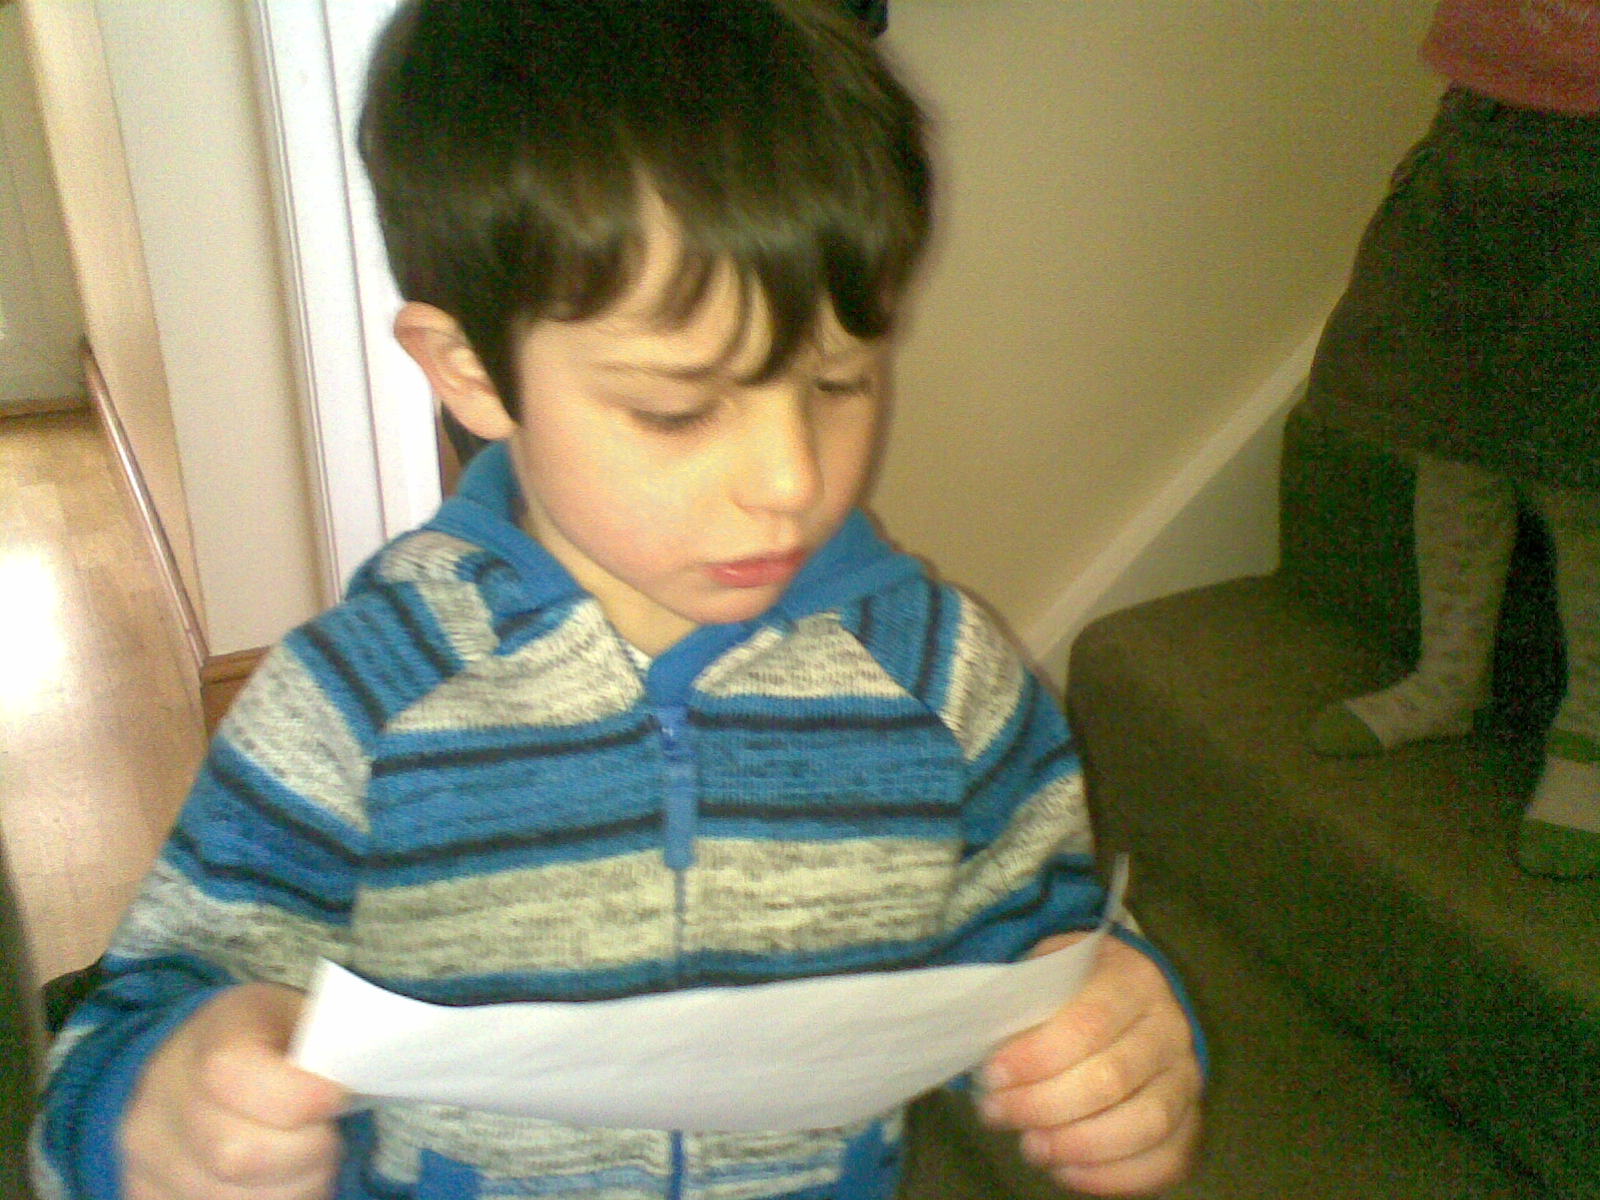
The first clue is for L** to read,

I know he is a good reader indeed.

This clue is tricky, that’s for certain

Look behind the living room *******.


Aha – you found them!  Now N****’s turn

To look in the place where a fire might burn.


For L**’s clue, get down on your knee

To find out where those eggs might be.

Get down on the floor, if you are able,

And look under the kitchen ******.


N****, look inside your bed

–         You’ll find your eggs where you rest your head.


Quickly L**, zoom, zoom, zoom,

The next one’s still in your bedroom.

You’re doing well at this hunting race

–         Go and look in your book ****.


Hello N****!

Splish, splash, splosh!

You’ll find the eggs where you have a wash!

You’re so close, Leo, they’re near the floor,

Just look behind the bathroom ****.


Think hard, N****, and have a peep

In the place where a baby girl might sleep.


Look around, L**, look up and down,

You’ll find eggs in Mummy’s dressing ****.


N****, this is your last clue

They’re near the front door, where you keep your shoe!


You’ve found most of your eggs by now

Just one more clue to tell you how

You’ll need to look where your clothes get clean

The eggs are inside the washing *******!!


Well done, little girl and boy!

I hope these eggs have brought you joy.

They’re made of chocolate, delicious and sweet,

And now it’s time for you to eat –

Don’t let them melt

(They’ll go all runny)

 – With lots of love from the Easter Bunny!!

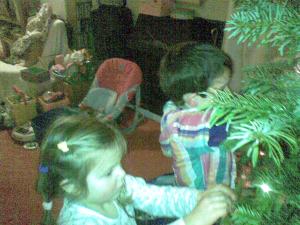
L and N arrived home from church to find that Daddy had got into the spirit of things – a rabbit greeted them on the doorstep, along with two baskets, and the eggs had been hidden around the house.

01042013(007)

The great thing about the egg hunt was that it required co-operation.  L needed to help N read the clues, and also practise the skill of restraining himself from giving the answer on her “turn” (and he really does need to practise this!).  It also required sharing, and a little bit of maths as they divided the eggs between them after each clue.

01042013(011)

01042013(012)01042013(017)01042013(018)

At the end of the hunt, the children discovered for the first time the joy of Kinder Eggs – I’m sure there must be fine motor skills benefits to opening them and playing with the tiny toy!

The other great thing about the Easter Egg Hunt – a morning’s fun for the grand total of £3 between the two children – an egg hunt kit from poundland, plus the mini eggs!

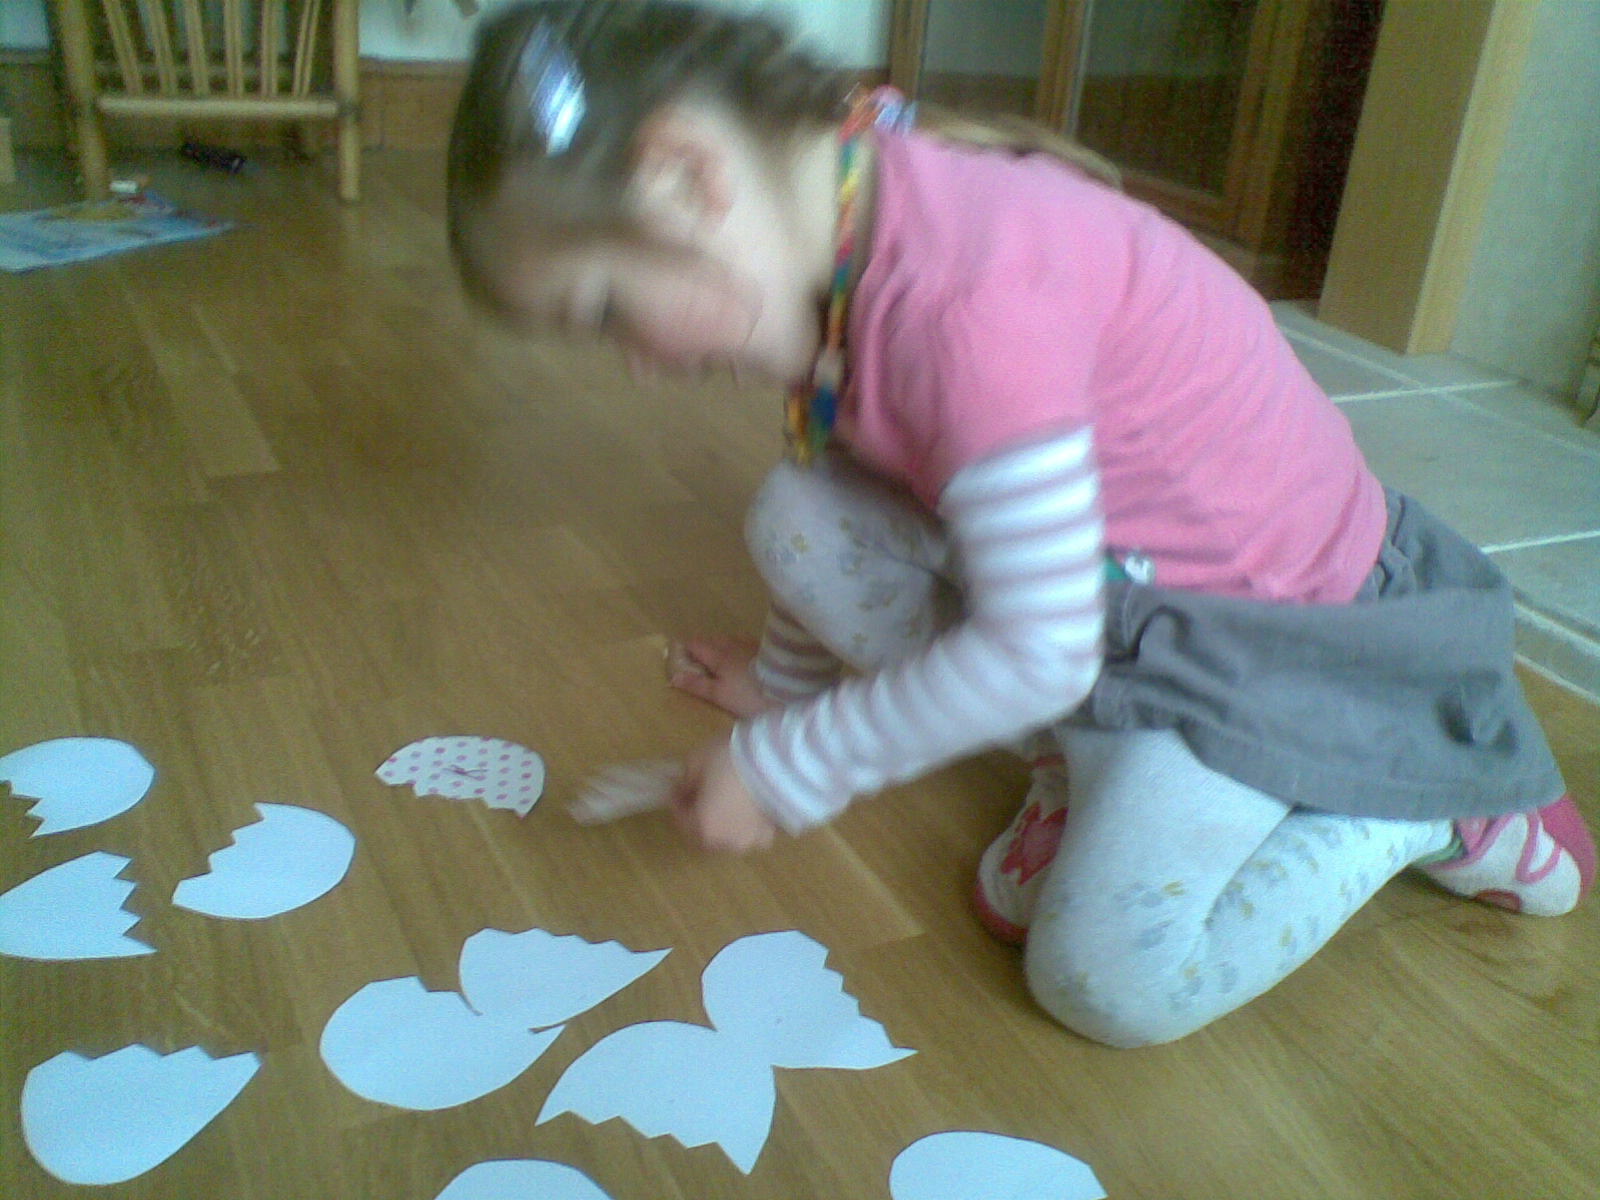
Also at the end of the hunt, each child found a home made game.  That sounds slightly more impressive than it actually was, but they loved it anyway and we have used them quite a bit since.  They consisted of cut out Easter egg shapes, then cut in half, with a little bit of fun learning.

N’s game was designed to teach her to recognise capital letters, and it’s actually worked brilliantly – she can recognise them all after playing the game a handful of times.  We played this one as a game of “pairs”, matching upper and lower case letters.  Snap would work equally well.

01042013(030)01042013(004)

The game was also good for L in that it allowed him to practise turn-taking, sharing, concentration, observation and again that valuable skill of not correcting N and being kind to a younger child who is still learning what he already knows.

L’s game involved number bonds to ten:

01042013(036)

 Unfortunately, I haven’t got a good picture, but it involved egg halves which needed to be matched to make a total of ten – 0 and 10, 1 and 9, 2 and 8, etc, etc.01042013(006)

It was a good game, but one that needed to be played with L alone.  When N interrupted and became frustrated by not being able to understand it, L declared it “too boring” and wandered off, but when I brought it out again as a special quiet time activity, he loved it.

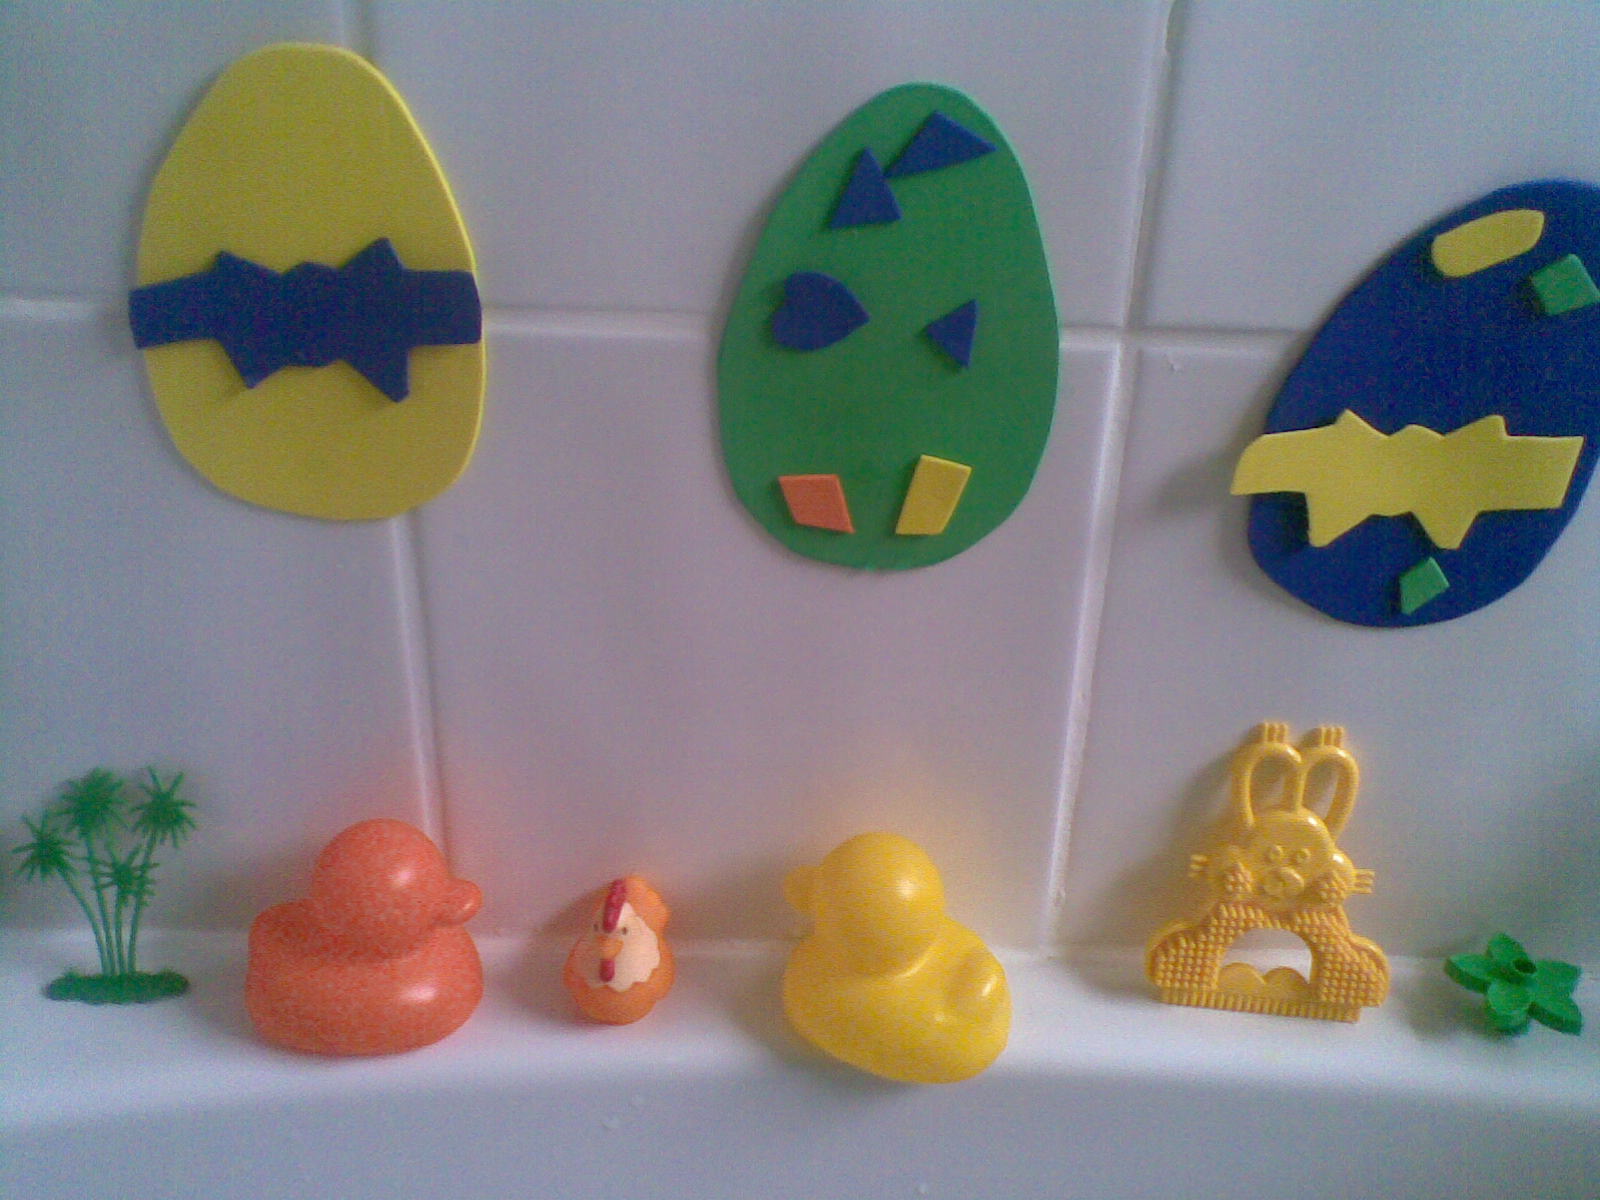
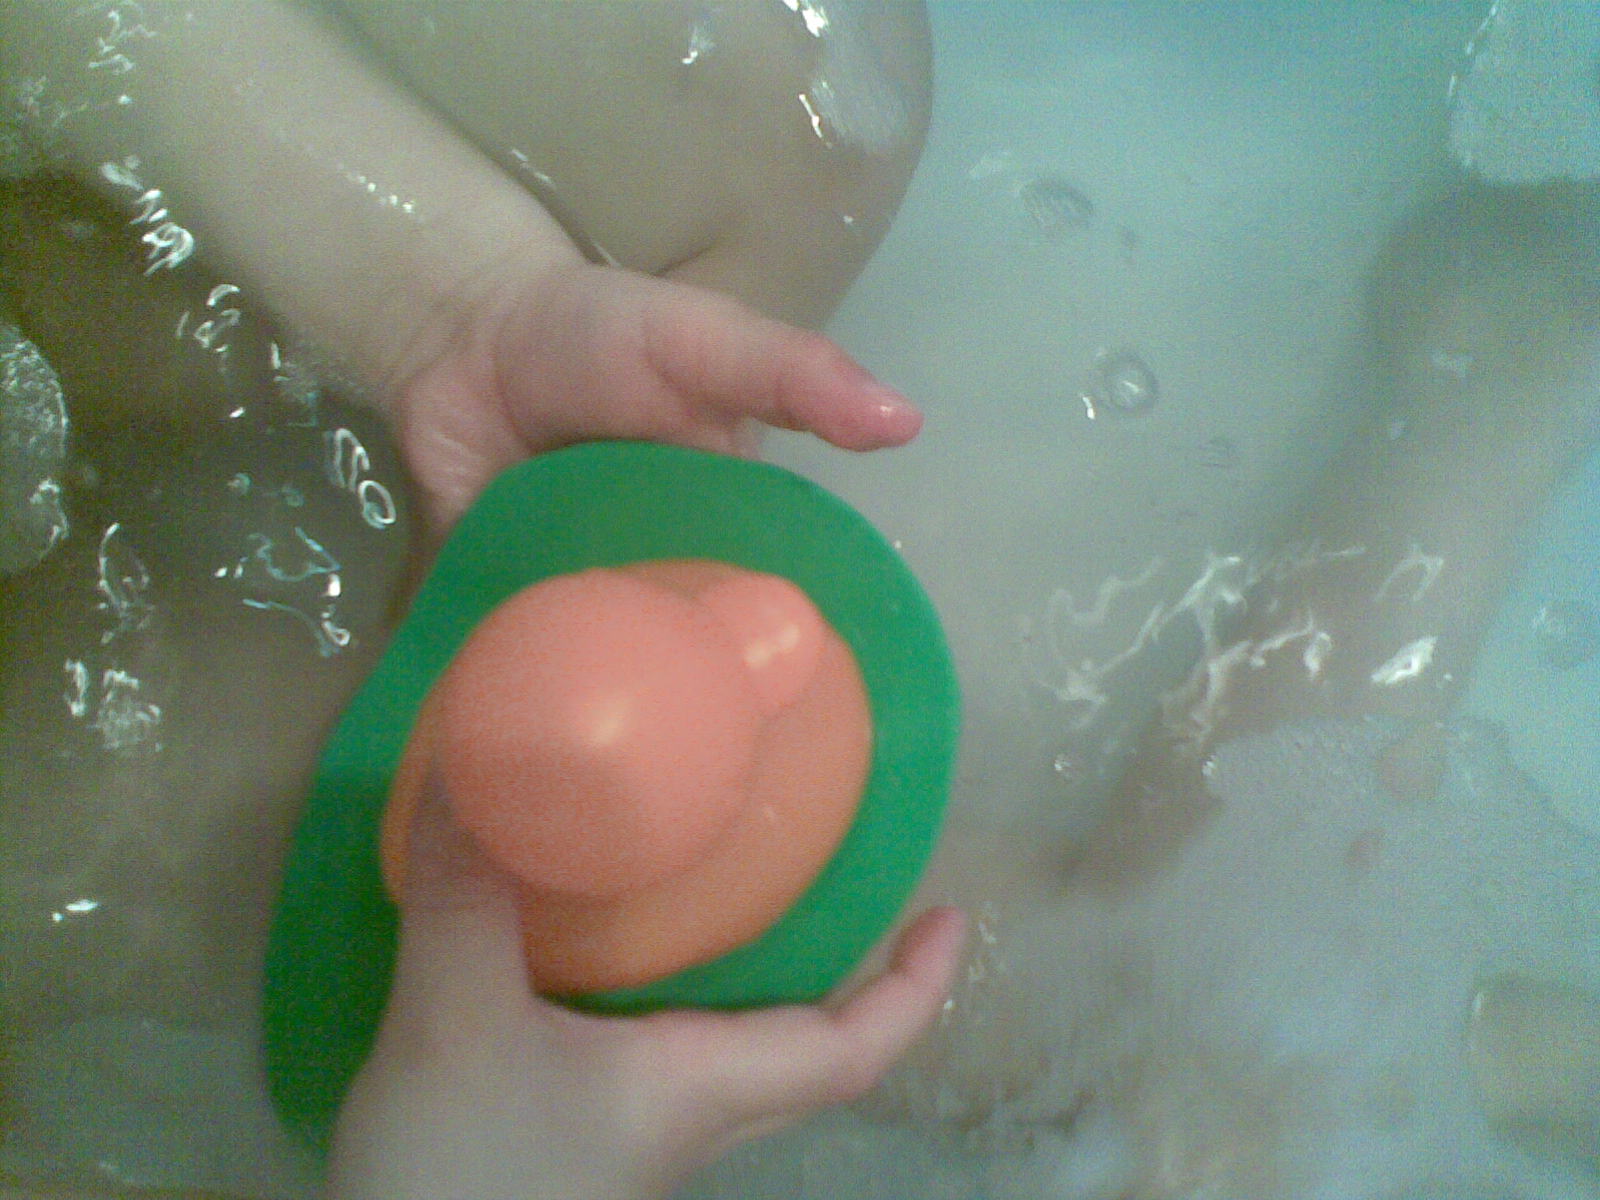
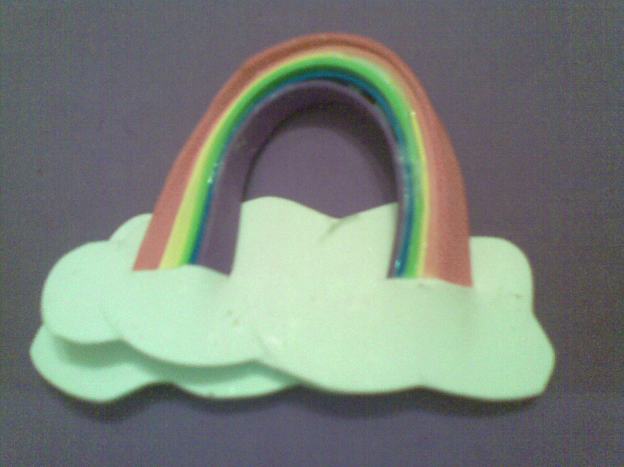
We ended Easter Sunday by decorating foam Easter Eggs in the bath!  These were made quickly and easily using craft foam.  L and N did some of the cutting, and we have also used them to explore repeating patterns and geometric shapes.

L and N also used the shapes in unexpected and creative ways – a lilypad for a duck, and to make aliens!


01042013(045)01042013(060)


01042013(065)06042013(002)

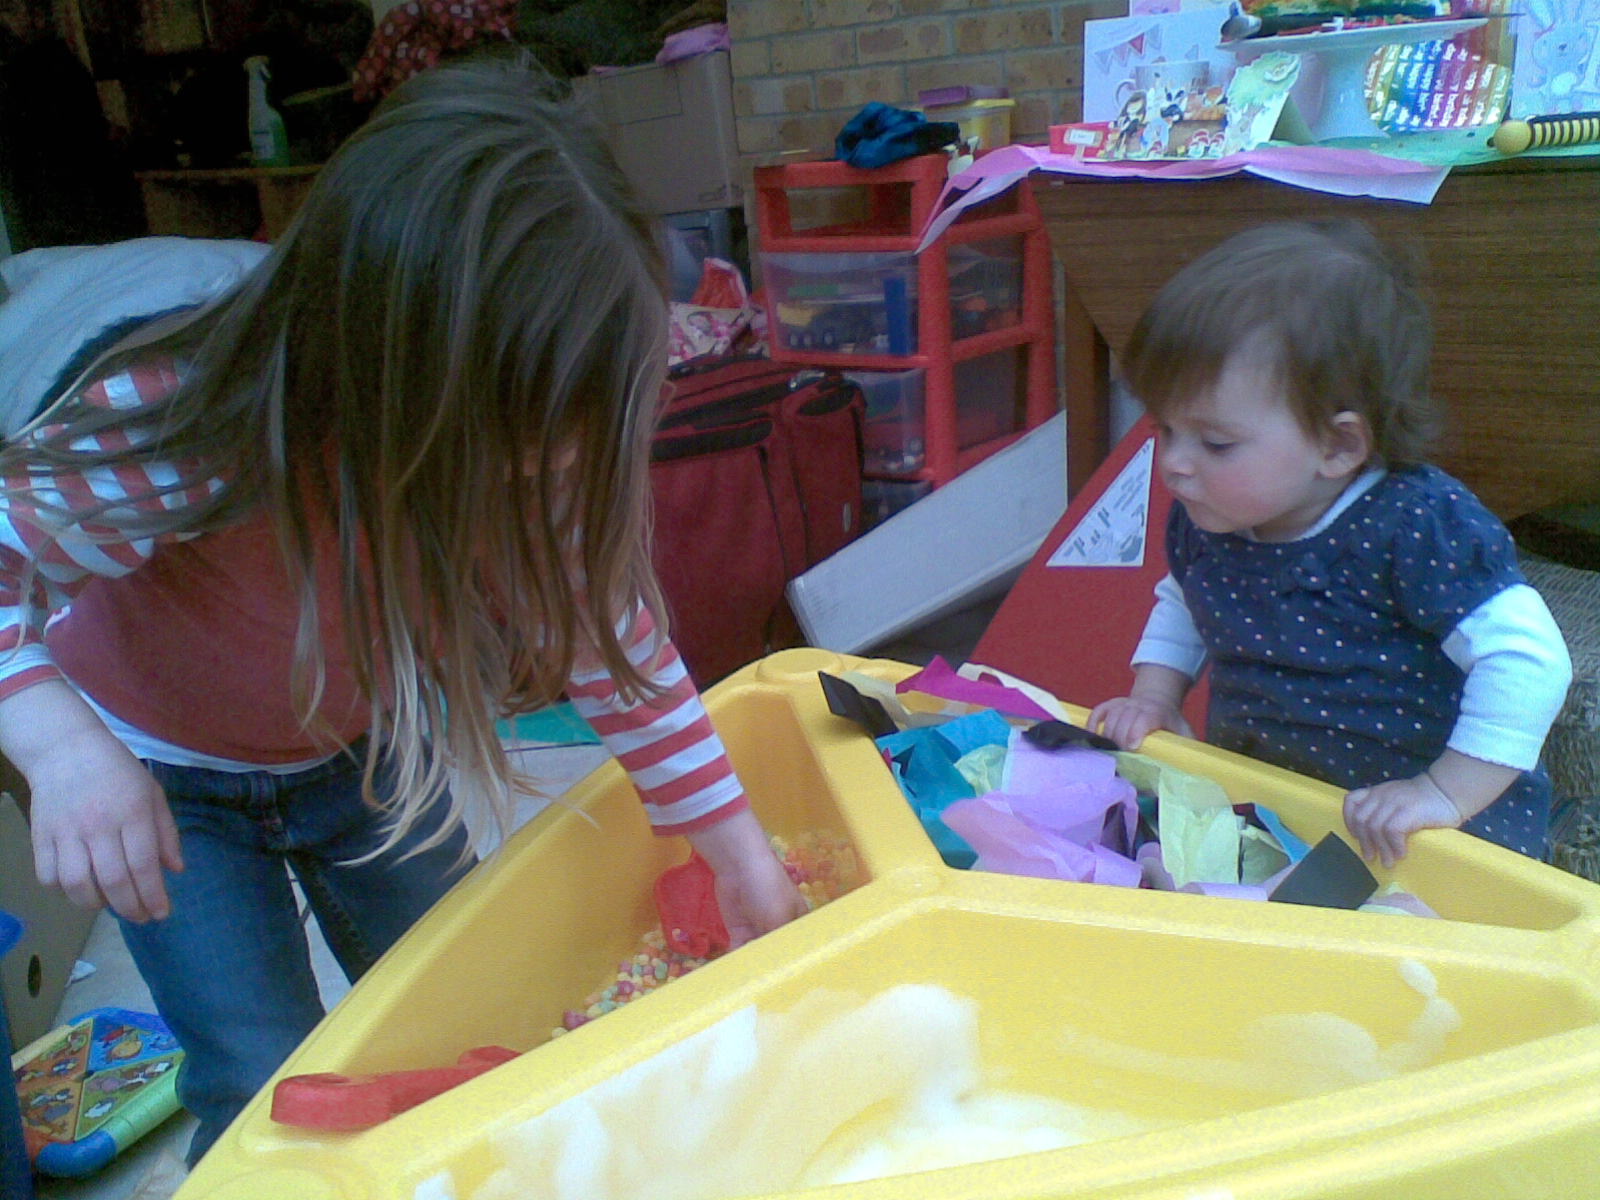
We also did (guess what) a lot of crafts over the Easter holidays (any excuse!).  Grandma and Nana were kind enough to send craft supplies instead of chocolate, and the children’s big cousin wrote a lovely letter full of craft ideas!  So we got busy…

28032013(007)28032013(014)28032013(004)28032013(017)28032013(020)28032013(008)28032013(009)28032013(012)

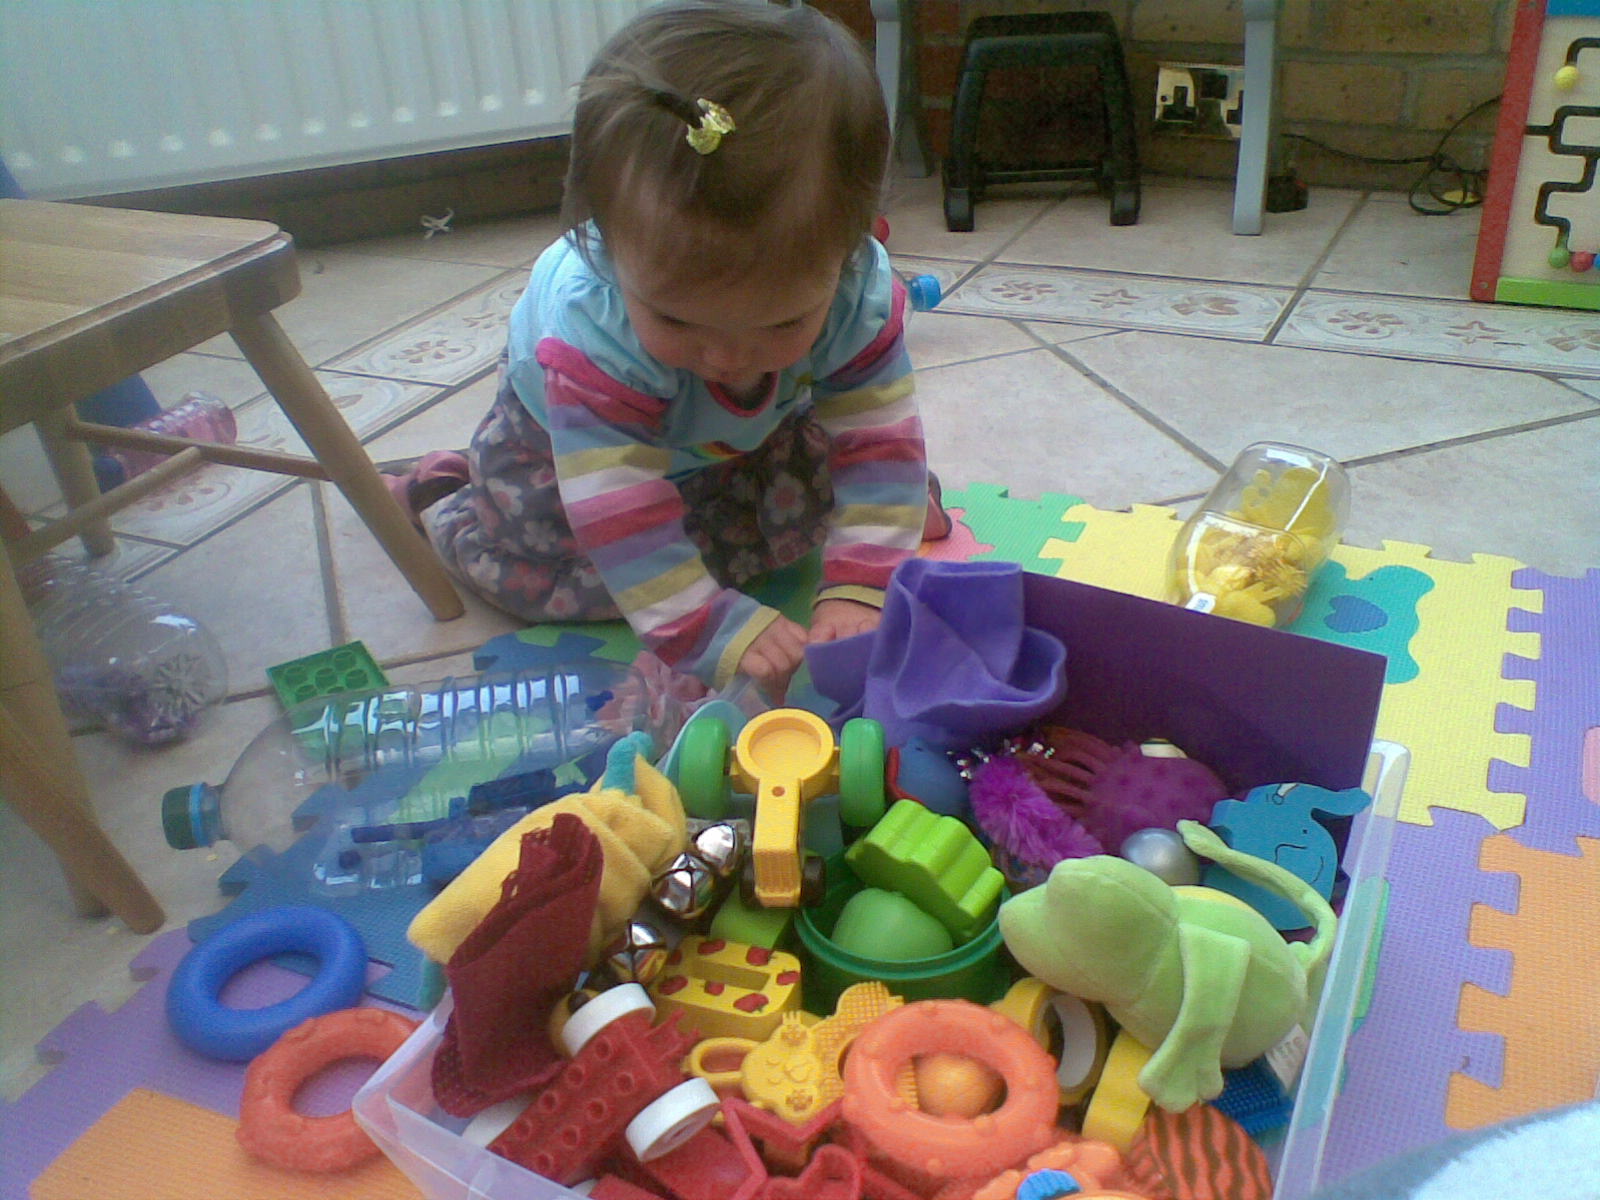
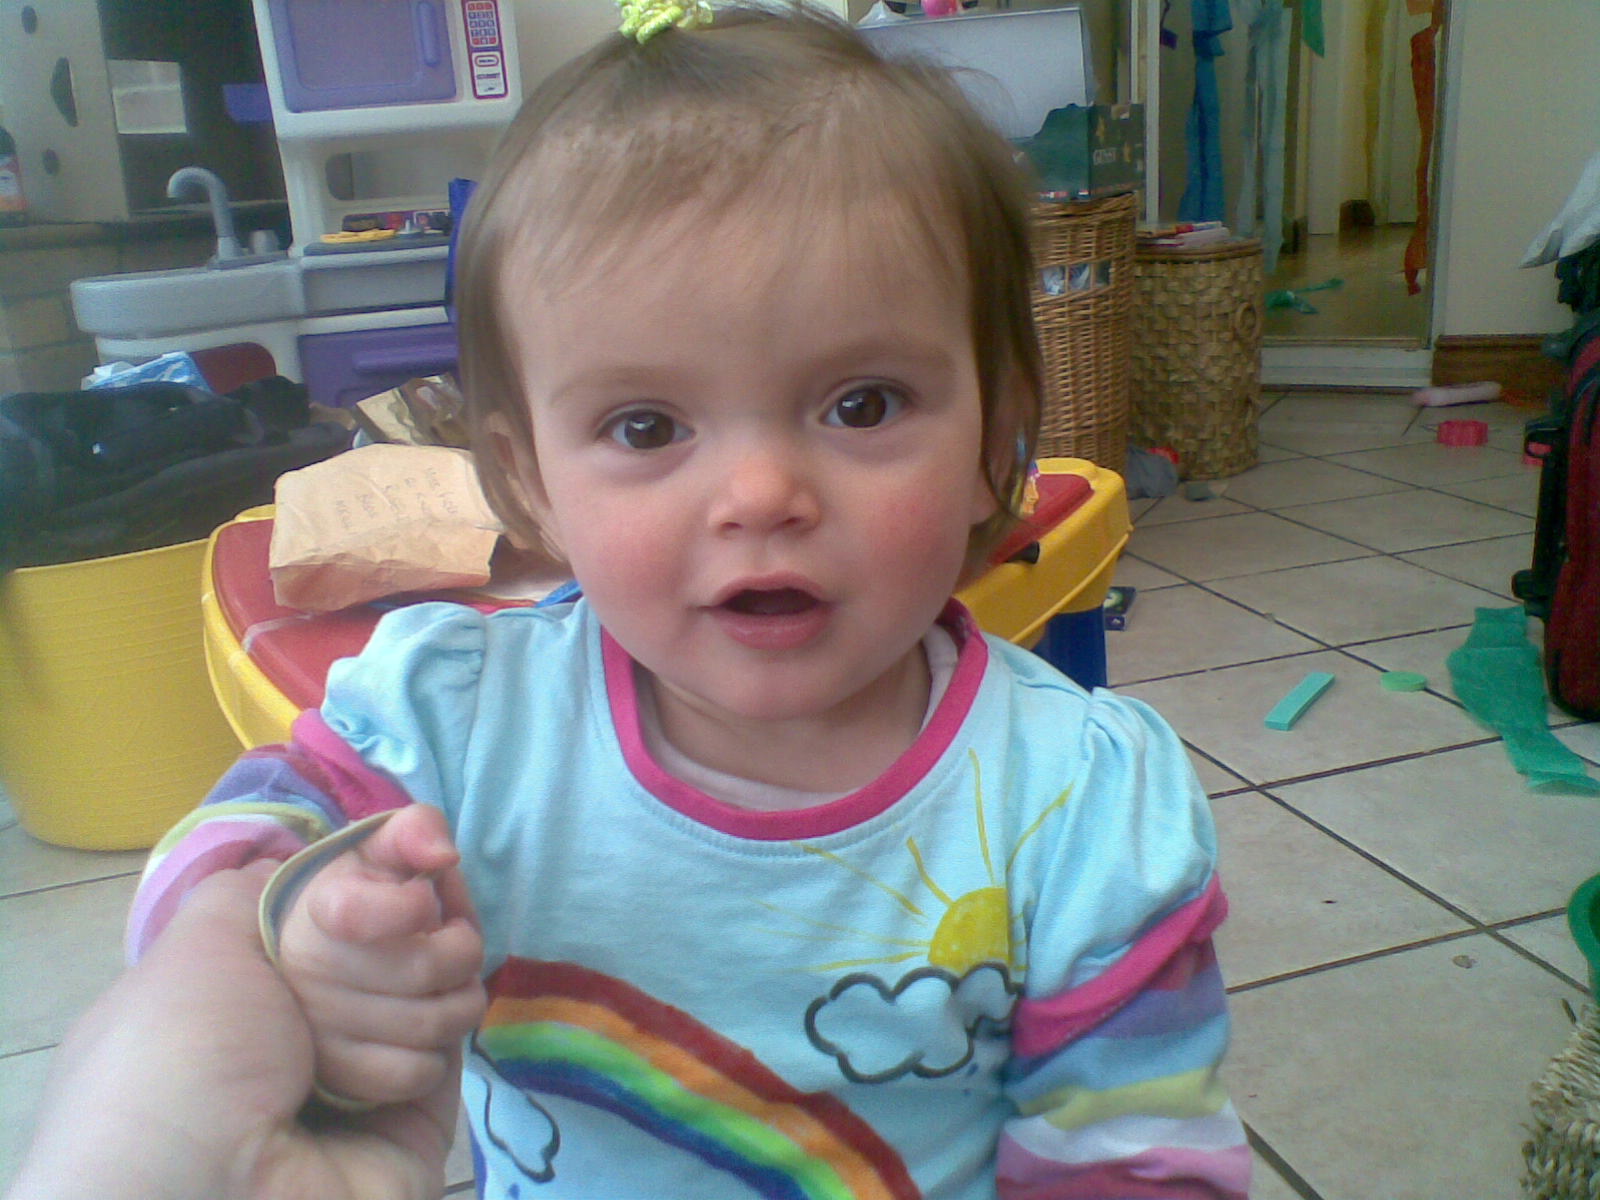
The fun we had was as good as the finished products.  We were in our element, surrounded by goodies such as feathers in all colours, polystyrene eggs, different kinds of paints, googly eyes, papier mache eggshells, and more besides, plus some books of craft ideas!  Even F wasn’t left out – she loved making handprint chicks, finger painted easter eggs, and learning to make marks with felt tips, crayons, pencils… Meanwhile, LI and N practised cutting out, selecting materials, glueing, shape and space, and fine motor skills, all whilst having fun making Easter crafts.

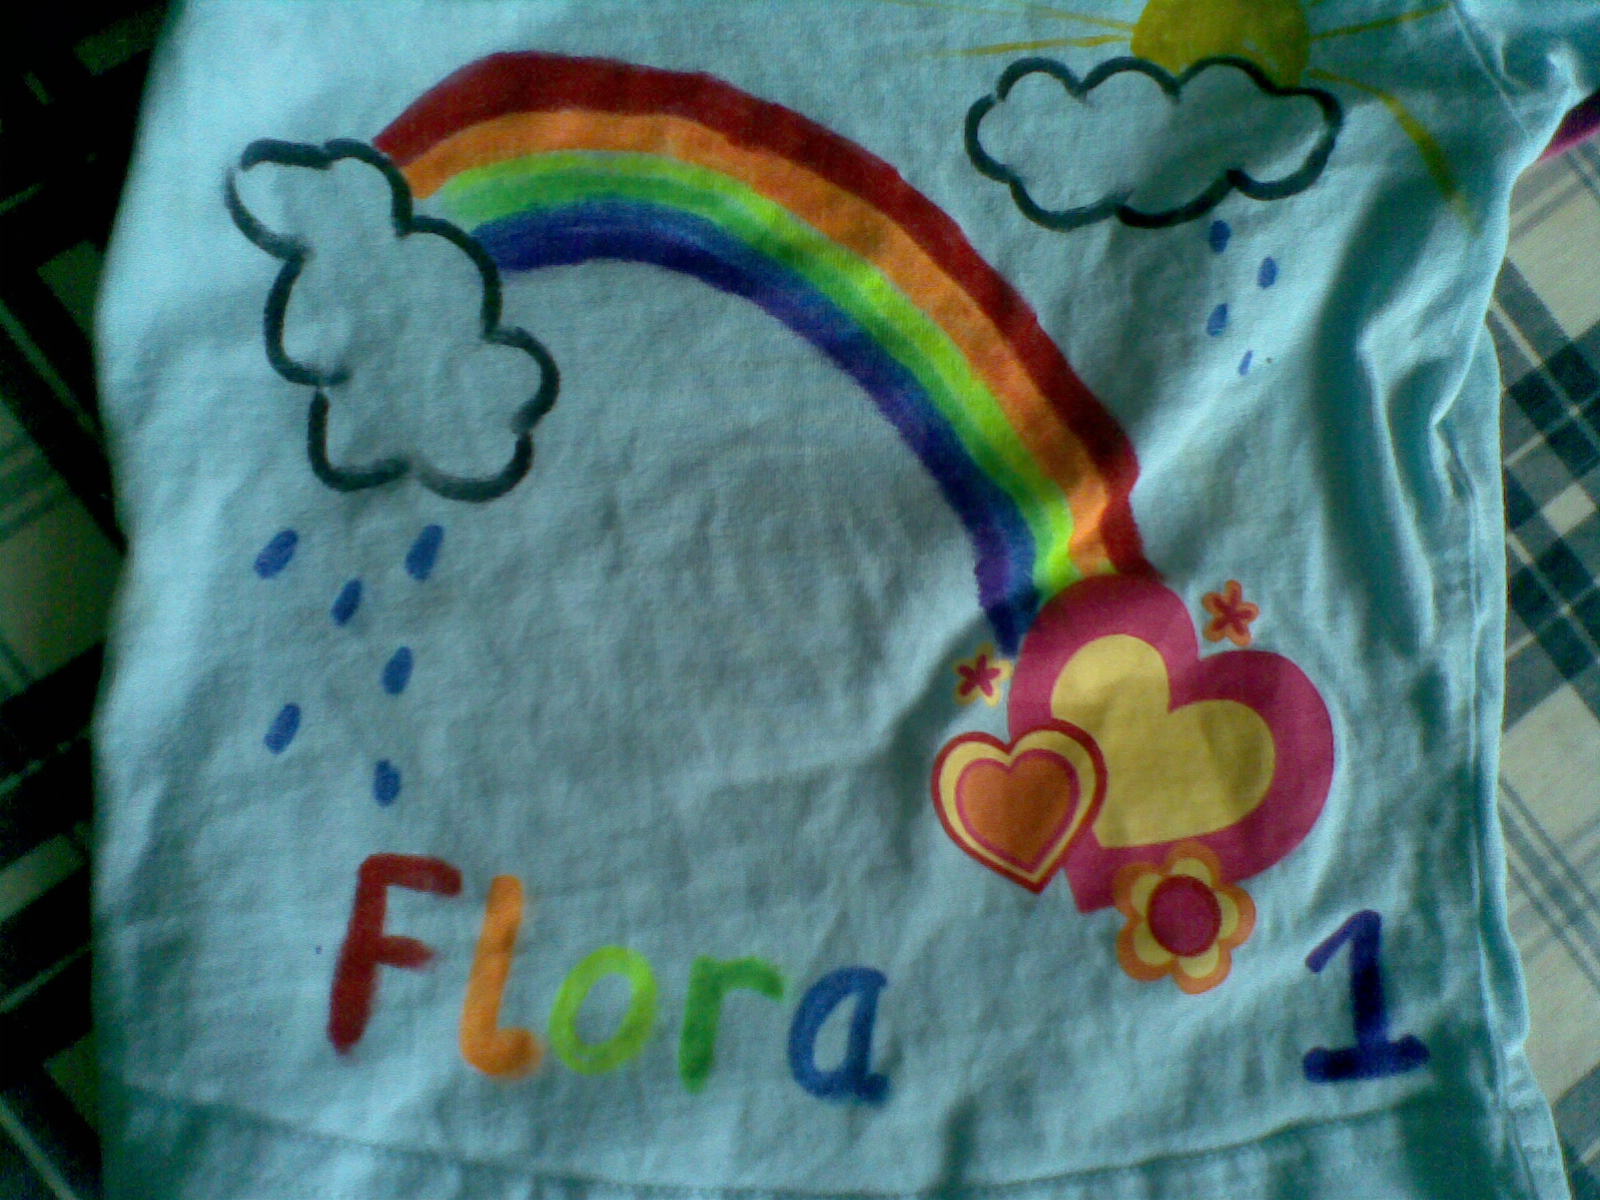
We also made some very simple but effective cards for friends and family, using insulating tape to make a cross on the front of the card, which all three children could then paint over, and the tape was removed to leave a cross once the paint had dried.

2903201329032013(002)

L and N then wrote in  their cards, bringing in some sneaky writing practice for the boy who only wants to email, and giving N practice at forming letters, and writing her name independently.

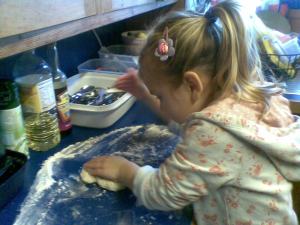
We also went wild in the kitchen, making our Easter cake, topped with a chocolate coated weetabix nest!

02042013(001)02042013(005)

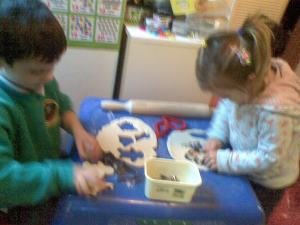
L and N had great fun with the leftover fondant and some cutters, and were thrilled to be given access to my proper grown-up shaping tools!

02042013(008)

I usually find that when they are trusted, and they know it’s important, they live up to the responsibility.  The novelty of playing with something normally out of bounds made this really exciting, and they both felt very grown-up doing “proper” sugarcraft.  It is full of benefits in strengthening hand muscles needed for writing, fine motor skills (again) and developing creativity.  They also copied some of the animals I had made, so developing skills of observation.  Even F enjoyed playing with some pieces of fondant (and I didn’t have to worry too much if she ate some!)

26032013(004)

02042013(020)02042013(017)


And last but not least, this was the year I decided to introduce the story of the Crucifixion.  As a Christian family, we have thought long and hard about this.  How to introduce something that is really beyond our own understanding?  How to convey the meaning of Easter without traumatising the children?  Until this year, we settled on “Easter is when God showed us how much he loves us”.

There could be no introducing it to L without N.  The chances of him not sharing this new information with her were slim to none – so together we watched a children’s DVD explaining the Easter Story, read passages from the Bible, drew pictures, arranged pictures from the story in  sequence, and encouraged any questions from the children.  There were many, and some we couldn’t answer.  But I needn’t have worried about L, who ended up telling me the story, having read it himself in the children’s Bible!  This made me all the more glad we had decided to explore the story together, to allow him to ask any questions he had.

L and N were also lucky enough to make these fantastic Gethsemene gardens at the village church, which I can take no credit for whatsoever, but am sharing because I think it is a brilliant idea.  Here is a blog about something similar.

30032013(001)30032013(002)

Next year, we also plan to try resurrection cookies as a way of exploring the Easter story.

There we have our Easter, we hope you had as much fun as we did!!


A Rainbow Birthday

After what seems like a long break from blogging while we settled into our new home, we are back, with the news that little baby F is one!  And what better way to start than sharing her birthday celebrations.

The theme was decided by L and N.  We have been learning about the weather, and they have been captivated by rainbows.  We have made our own tiny rainbows with a glass of water and a torch like this, and by lucky coincidence seen this brilliant rainbow in the sky.

Rainbow

L and N requested a rainbow tea party, and so F’s birthday theme was decided.  L and N painted their own rainbow t-shirts to wear on the day, using fabric markers:

10042013(001)11042013(007)

And Mummy had fun making a special one for F!

10042013


It worked brilliantly – bright, bold colours were perfect for a one year old, and it was such a fun theme to carry out.  This is what our playroom looked like:

P1060195

P1060208

10042013(020)10042013(021)

08042013(015)

The decorations were:

  • A crepe paper curtain – literally just strips of rainbow coloured paper sellotaped to the door frame.
  • A rainbow banner – the letters of F’s name cut out of craft foam and threaded along a string.
  • Paper bunting – easy peasy triangles of coloured paper fixed to a stripy ribbon using double sided tape
  • A rainbow mobile – made of craft foam, PVA glue, and threaded onto yarn using a needle, and attached to two bamboo skewers tied together in a cross shape.

The “party” itself was quite low key – just ourselves and Nana, who was visiting.  I wanted to be able to focus on F, and give her attention rather than entertaining people – also, we thought she would probably be overwhelmed by lots of people.

So we had a trip to the farm, and a tea party with lots of colourful and sensory things to explore.

The toy tray was very easy, and brilliant in that it gave a new lease of life to toys that haven’t been played with for ages.  L, N and I sorted toys that were safe for F to explore, into the colours of the rainbow, and arranged them in an empty drawer.

I tried to give her a range of textures, noisy toys and shapes to investigate.  Some of the things we included were:

duplo blocks

large wooden numbers

pieces of fabric

an unused toothbrush

Rattles

toy cars

a bottle of coloured water

coloured paper

a hair scrunchie

wooden blocks

10042013(025)11042013(062)

We also put together some rainbow discovery bottles.  The beauty of this was allowing F to investigate some of the forbidden objects that fascinate her, in a safe way – hairbands, pipecleaners, pens, paperclips, beads, coloured rice… At first I found it hard to decide whether to group things by type (ie. a bottle of rainbow rice, a bottle of multicoloured pipecleaners etc) or to group them by colour.  I decided on the latter when a friend pointed out that we could then use them for single colour learning.  Another friend suggested a final bottle with an object of each colour, which I plan to do once we’ve emptied another plastic bottle!

11042013(178)

I was concerned that including a variety of objects in each bottle would be overwhelming and prevent F from focusing and investigating them fully, so I limited the number of things in each one, and tried to make the bottles different in terms of the sounds they made and the kinds of objects they contained.  There really are infinite ways of doing this and all of them good!

We ended up with:

  • Red pipecleaners cut to different lengths
  • Orange dyed pasta shapes
  • Yellow pom poms and pieces of drinking straw
  • Green bay leaves and dyed rice
  • Blue tissue paper and microbeads
  • Indigo pens, pencils, crayons and shiny fake gems
  • Violet beads and hairbands, plus a purple necklace of mine.

F has had great fun rolling these along the floor, shaking them, banging them…I wondered if shie might be frustrated by not being able to empty the bottles but so far she hasn’t tried (the lids are stuck down with strong glue).

We also had rainbow handprinting (I picked up the rainbow handprint sponge from The Works).

11042013(041)


…and F received some fantastic rainbow presents, including Melissa and Doug Rainbow Sound Blocks, a large colourful activity cube, and musical instruments including a rainbow xylophone.

Our present to F was a sand and water table, which will never be limited to sand and water – for the birthday, we filled it with strips of coloured paper, rainbow dyed rice krispies (an alternative to rainbow rice that’s safe if eaten), and shaving foam which we later added food colouring to for marble painting.

10042013(026)12042013(015)12042013(024)12042013(018)12042013(002)

We finished up with a rainbow layer cake.  This was actually easy if time consuming, although no more so than other birthday cakes we’ve had.  It just involved making a huge quantity of sponge mix, dividing it into separate bowls, and dyeing each a different colour using gel food colouring.  The gel gives a beautiful vivid colour with only a few drops, whereas liquid would be likely to ruin the cake batter as you’d need so much colouring.  The layers are then sandwiched together with buttercream.  We covered ours in fondant too, as no matter how much buttercream you make, it will never be enough for this cake!

The bonus of using gel colour is that  the gel can be used to dye fondant really smoothly.  Here is our take on the rainbow layer cake:

Flocake11042013(158)11042013(157)11042013(170)

We served the cake with a rainbow fruit platter (easier and more toddler-friendly than skewers):

11042013(069)

And here is the birthday girl, enjoying her day:

11042013(055)11042013(044)11042013(031)

Favourite Christmas Crafts

Sometimes oldies are goodies – and popular crafts are popular for a reason, because they are (almost) universally enjoyed and benefit children in all kinds of ways.  They are also about passing on traditions.  There is something magical about making Christmas decorations in the same way that children have for centuries, and realising how much children love this stuff even in this electronic age.

The past few weeks we have had fun with some traditional crafts:

1. Salt Dough Ornaments

We made our salt dough using the basic ratio of half:half:whole water:salt:flour.  L and N loved mixing it and kneading it (L developed a really good technique).  There are so many merits in this – motor skills, maths (measuring, ratios, quantities) science (the properties of the material, how it dries and hardens), and it is fantastic sensory play.  We didn’t colour our salt dough because we planned to paint it, but there are so many variations – adding cocoa, coffee grounds, food colouring, sand, cornflour, spices etc etc to make this a multisensory activity and create different effects.

I gave L and N a rolling pin and some Christmas cutters, and let them get on with cutting out their shapes.  They couldn’t wait to show me.  N was really surprised when we put them in the oven and they hardened, and was quite excited about the idea that we could keep them and not squish them away like play dough.

24112012(006)24112012(010)24112012(037)24112012(032)

They were very busy and had a great time.  L was really proficient at making perfect shapes, N found it difficult to pick them up without squashing them so this was a lovely way for her to practise.

We also made the three children’s initials out of salt dough, using alphabet play dough mats from Twinkl resources.

I gave them glittery paint and let them paint the ornaments any way they wanted – sometimes less is not more, and they were very, very glittery since L and N wanted to add even more glitter on top of the sparkly paint – but why not?  They really enjoy the freedom of being able to decorate in any way they like, enjoying the process rather than the finished product.  And as it happens the finished products were great:

28112012(019)28112012(020)28112012(023)28112012(027)

2. Painted pine cones

Easy peasy – we spray painted ours with gold and silver paint – for some reason N is still talking about this oh-so-simple activity from last year and so we have done it again.  We have hung them on the Christmas tree, made garlands by stringing them onto thread (I did this with a sharp needle), used them to make a table centrepiece with a candle in the middle, and strewn them around the fireplace.

It is also fun to paint them with paintbrushes and poster paint – great sensory play and motor skill development as well as experimenting with different materials to paint onto – we have done this before and plan to do it again this week.  In a few Christmases time I think the house will be very full of pine cones!

05122012(008)05122012(006)

3. Toilet Roll crackers

Very easy, again.  We wrapped a toilet roll in a sheet of coloured felt (an A4 sheet seems to be exactly the right size) and tied with pipecleaners to form a cracker shape.  I then let L and N go bonkers with glitter and sequins to make some very sparkly crackers, some of which are on our tree and the rest decorating their bedrooms.

05122012(002)05122012(005)

To make real crackers (which we haven’t done yet because L hates the noise they make), I believe you would need a paper perforating tool (available from craft shops) to perforate halfway along the toilet roll to allow the cracker to split in two when pulled.  You would also need cracker snaps to put inside (as I write this I am having an idea that we could make silent crackers by omitting the snaps) – you would also need to use a decent quality wrapping paper instead of felt to cover the cracker.  And obviously something to put inside it!

Here we are decorating our Christmas tree with crackers and painted pine cones.  I am quite proud of the fact that everything on our tree is home made (OK, except the lights!).

03122012(006)03122012(004)04122012(016)

4. Paper snowflakes

Again, no prizes for originality, but plenty of traditional Christmas fun and learning.  I was impressed that both L and N could make these independently, as long as L cut the paper into a square shape for N, and after a few trial and error attempts where they cut all the edges away so that nothing held the snowflake together.  Quite a lot of mathematical thought, understanding of shape and symmetry and co-ordination as well as sequencing, goes into the folding of the paper diagonally again and again to make a small triangle, and cutting skills were perfected in cutting the shapes out.  And they were so impressed with their own work when they unfolded the snowflake and saw what they had made.  And F enjoyed playing with the pieces of paper that had been discarded.  L and N decorated their snowflakes with glitter and sequins, just because they love them!

They made loads of these, with minimal prompts and reminders about the technique.  the great thing about this craft is that pretty much whatever they do looks great!

02122012(071)01122012(010)01122012(009)

5. Felt Hearts

These hang on the Christmas tree, and are a particular favourite of mine.  We cut out two heart shaped pieces of felt and let L and N decorate with fabric pens and glitter glue.  I then stuffed them with upholstery wadding and sewed them together.

05122012(010)

It would be easy to punch holes around the edge and let the children sew their own.  For older children, cross stitch designs could be incorporated.

All of these crafts are things that L and N remember from last year, which is a long time in their little lives, and have asked to do again this Christmas – I think they will be repeated year after year, some can be given away as presents, but I think our house will still be very full of these things.  This is only really the second year of Christmas crafting for us, and it is already lovely to see the difference in the way they approach these crafts, and to look at last year’s nostalgically – imagine how lovely it will be to have a decade of paper chains and felt offerings sewn by little fingers!

Making Fake Snow (or superabsorbent polymers!)

L, aged five, believes that Christmas has to have snow.  So our Christmas playtimes had to have some snow.  There are so many ways of doing this – rice, salt, sugar, cotton wool, flour – all make great sensory snow-themed play materials, but today I believe we found the very best fake snow.

My plan originally was to buy some Insta-Snow powder and have a full on snowy play session, probably outside.  We will still do this outside, with hats and scarves and all of what L expects from snow – but I couldn’t wait to order some, and whilst googling to  find out what it contained and how it works (anticipating L’s inevitable barrage of questions), I discovered the hidden science lesson about superabsorbent polymers.  Snow powder is also known as sodium polyacrylate, I discovered, and one of its most common uses is in babies nappies – to act as the absorbent part.  So we already have plenty of sodium polyacrylate in our house without even knowing it!  How excited was I to make this discovery, and couldn’t wait to dissect a nappy (yes, I really am that excitable!).

As it happens, we had a pack of cheap supermarket nappies that we are no longer using, basically because we may as well not bother putting a nappy on F.  Perfect for dissection!  So we cut open a couple of nappies and pulled out the absorbent fluff.

I gave the absorbent part of one nappy each to L and N in a bowl, let them feel it, describe it, and think ab out what might happen when water was added.  They both thought it would go soggy, like cotton wool or kitchen paper might.  L described it as “fluffy”, N as “crunchy” and “crispy”.  Here they are, investigating:

Once they had played with it, pulled it apart, squished it and generally had a good time, we added some water.  For L, I asked him to measure the water in a jug and find out how much liquid the nappy would hold (we will one day compare different nappy brands).  He was good at this and found that the one nappy held 1,800ml of water before it stopped soaking up the liquid (and still not absorbent enough for F – how much does my baby wee??!).  N wanted to measure hers, so although I hadn’t intended to do this with her she measured it in cupfuls of water, and counted five.

This is the good bit.  Adding the water produced the nearest thing to snow that I could manage without actually taking them to Lapland.  And more of it than I would ever have thought – we ended up with two large bowlfuls just from the two disposable nappies.  I can’t wait to do this on a bigger scale (we have a whole pack of these nappies just waiting for this day!).  The material it produces is crystalline, it is cold, it is mouldable, and slightly crunchy.  It doesn;t compact quite as much as real snow but it is pretty darn good.  And I (I mean, the children) loved playing with it.

Our “snow”

the children quickly discovered they could mould it, and had fun making handprints, thumbprints, ice cream cones, snowballs – and we even made a snowman!

He had a pasta nose, bead eyes and the lid of a spray paint canister for a hat.  L made him two large feet!  Snowmen went on for quite a while, and it was great fun.  We kept our crystals to find out what happens to them overnight.  I genuinely don’t know, so it will be as much of a surprise for me as the children!


Multi-Sensory Christmas Cloud Dough

Getting us in the mood to begin our Christmas crafting (even though to me it feels early to be starting, I know that the time from here to Christmas will fly) – I decided to spice up our cloud dough with a Christmas theme.

This is the second time we have played with cloud dough (you can read about the first here) and this cloud dough had kept beautifully for several weeks, in a sealed tupperware container.  The basic cloud dough recipe is 8 parts flour to one part oil – we used baby oil.  It looks like sand but the texture is silky, lovely and a bit addictive!

We added some Christmassy spices – cinnamon, nutmeg and ground cloves, to scent the cloud dough – it smelt amazing! We also added red and green glitter, and some little Christmas ornaments.

We threw in some Christmas baking moulds and cookie cutters, plus spoons for digging and scooping.  L and N couldn’t wait to get stuck in.


They filled the moulds and N decorated her Christmas tree with tiny ornaments.

They both enjoyed exploring and feeling the texture of the cloud dough, crumbling it and squidging it, discovering how it moulds.

Then decided to hunt for buried treasure, digging for the little ornaments.

Baby F did have a feel of the cloud dough, but I soon retired her to a box of christmas ornaments on the floor so that I could get on with dinner (one of the best things about L and N no longer being toddlers is that they don’t need that constant and direct supervision).  F enjoyed watching them play and exploring some shiny baubles (she seemed surprised when they rolled away!), along with a felt Christmas stocking, and our winter themed discovery bottle.

This kept F entertained for quite a while (I suspect my life will get a bit more difficult when she is no longer happy not to join in L and N’s activity).

L asked if he could have some baubles to play with.  I was just about to say “no, you’ve got plenty there”, when I corrected myself and said “yes, of course” – and was glad I did because he used them in a really inventive way, to make imprints in the cloud dough that acted as “moon craters”.  A lesson for me – say yes unless there is a good reason not to, you might thwart their creativity without knowing it!

I also used this opportunity to remind them to practise co-operation, with the promise of a leaf on our kind hands tree for playing nicely together.  I reminded them of the phrases they have practised using –

  • “Please can I have it after you?”
  • “Please could you help me?”
  • “Have you finished with that?”
  • “I was using that”
  • “Please don’t do that”

Having been reminded of this before starting, and emphasising how special the activity is seems to work, I tried hard to notice and praise them every time I heard them co-operating and using their phrases.  This is one of the reasons I am pleased with the location of the craft area right outside the kitchen, which was more by accident than design, being improvised in the lobby of our little house.

They did play reasonably happily with a couple of reminders!